
Practice Filming Plan: Set Up, Shoot and Use the Footage

A good practice filming plan answers four questions before the first drill starts: what skill you want to see, where the camera sits, who is allowed to film, and what you will do with the clips afterward. Settle those once, repeat them every session, and practice footage turns from a pile of shaky files into something a player, a coach and a recruiter can use. This guide walks through each step for parents and coaches of youth athletes in the U.S., including how to mix practice clips with game highlights.
Start with the question the footage has to answer
The most common mistake is pressing record with no goal. You come home with 40 minutes of video and no idea where the good part is.
Performance analysts in rugby work the other way around. World Rugby’s coaching guidance says the person filming should define the session plan and where the camera needs to be to capture what the coaches want. That habit scales down to any youth sport. Before practice, write one sentence: what do we want to see today?
Here are examples that work:
Soccer: first touch under pressure, or how my daughter scans before receiving the ball.
Baseball and softball: the full swing from the side, then the same swing from behind.
Tennis: serve toss and contact point, filmed from the same spot each week.
Lacrosse or field hockey: shooting mechanics and off-ball movement.
One focus per session is plenty. If the coach runs three drills, decide which one gets filmed and let the others go. A short, targeted clip gets watched. A long, general one rarely does.
Build the plan around your season
A practice filming plan is a rhythm, not a one-time shoot. Think in three layers.
Baseline clips
Film the same skills early in the season so you have a starting point. A player who sees a clip from September next to one from November can see progress that is hard to notice from the sideline.
Weekly check-ins
Pick one practice a week, ideally the one where the team works on skills rather than scrimmaging. Film one or two drills. Keep a note of the date and the focus so you can find the clip later.
Game days
Games give you the situations practice cannot: speed, pressure and real opponents. The clips from games carry the weight in a highlight reel, while practice clips show technique and effort between games. More on mixing the two below.
If your team already works from a posted calendar, tie your filming days to it. A practice schedule your team will actually follow makes it easier to know which sessions are skill-focused and which are conditioning or scrimmage, so you only plan to film the ones worth filming.
Get permission before you set up
This step takes five minutes and prevents awkward moments with a coach or league official. Rules differ by league, school and venue, so check your own, but these examples show what to look for.
Youth leagues: Little League states that parents must provide written consent before photos involving children are taken. It also says video production requires written permission from Little League International, while photographing league activities for retail sale needs the local league’s written permission. Personal filming of your own child is a different thing from producing or selling footage, so know which one you are doing.
High school associations: The South Dakota High School Activities Association’s policy manual allows schools, parents or guardians to record a game or event involving their team or child for personal use, as long as it is not for broadcast, duplication or resale and is done from a designated area. Your state association may word it differently.
Tournaments and club events: US Youth Soccer’s notice says that entering a facility in use for its events means your presence constitutes consent to be photographed or filmed. Other organizers have their own terms, so read the event page.
Two habits keep everyone comfortable. First, tell the coach what you are filming and why: one player, for personal development. Second, keep your camera pointed at your own athlete. Single-player footage naturally avoids the crowd shots that make other families uneasy. For a deeper look at the rules, see our guide on filming youth sports legally in the U.S. and what to get in writing before filming tournaments.
Choose your practice filming setup
The goal is footage that is stable, clear and framed on the athlete. Everything else is detail. Here are the main options, from simplest to most hands-off.
Setup | Best for | What you give up |
Phone in your hand | Quick one-off clips | Steady framing, and your attention on the session |
Phone on a tripod or fence mount | Fixed drills like serves, swings, free kicks | Movement: the athlete can leave the frame |
Phone on a monopod or grip | Following play by hand | You are working a camera the whole practice |
Wearable-sensor tracking camera | Following one athlete automatically | Nothing for outdoor practices: it is built for them |
Fixed position drills
For skills that stay in one spot, a tripod or mount works well. Pick a spot and mark it. Some coaches recommend a ball can or a small cone to mark the camera position so every session is filmed from the same angle and distance. That consistency is what lets you compare week to week.
Following play
When the athlete moves, someone has to follow. Many parents who film soccer find that a monopod or grip makes one-handed tracking possible, and that positioning near midfield gives an even view of both halves. You can read more on soccer camera setup for hands-free tracking and camera height for single-player footage.
Basic settings that help
Whatever you use, a few settings make the clips easier to watch:
Shoot in landscape (sideways), not vertical, if the clip may go to a coach or recruiter.
Choose a higher frame rate if the sport is fast. Indoor gyms can add flicker with certain lighting, which we cover in our guide to sports video frame rate settings.
Lock focus and exposure on the area where the action happens, so the picture does not pump as the athlete moves through sun and shade.
Clear your phone storage before practice. Nothing ends a filming plan faster than a full phone at minute ten.
Let the camera follow your child while you watch
Here is the honest tension in practice filming: the person holding the camera is not watching the practice. For a parent, that means missing the moment your child finally nails the drill. For a coach, it means pulling attention from the team.
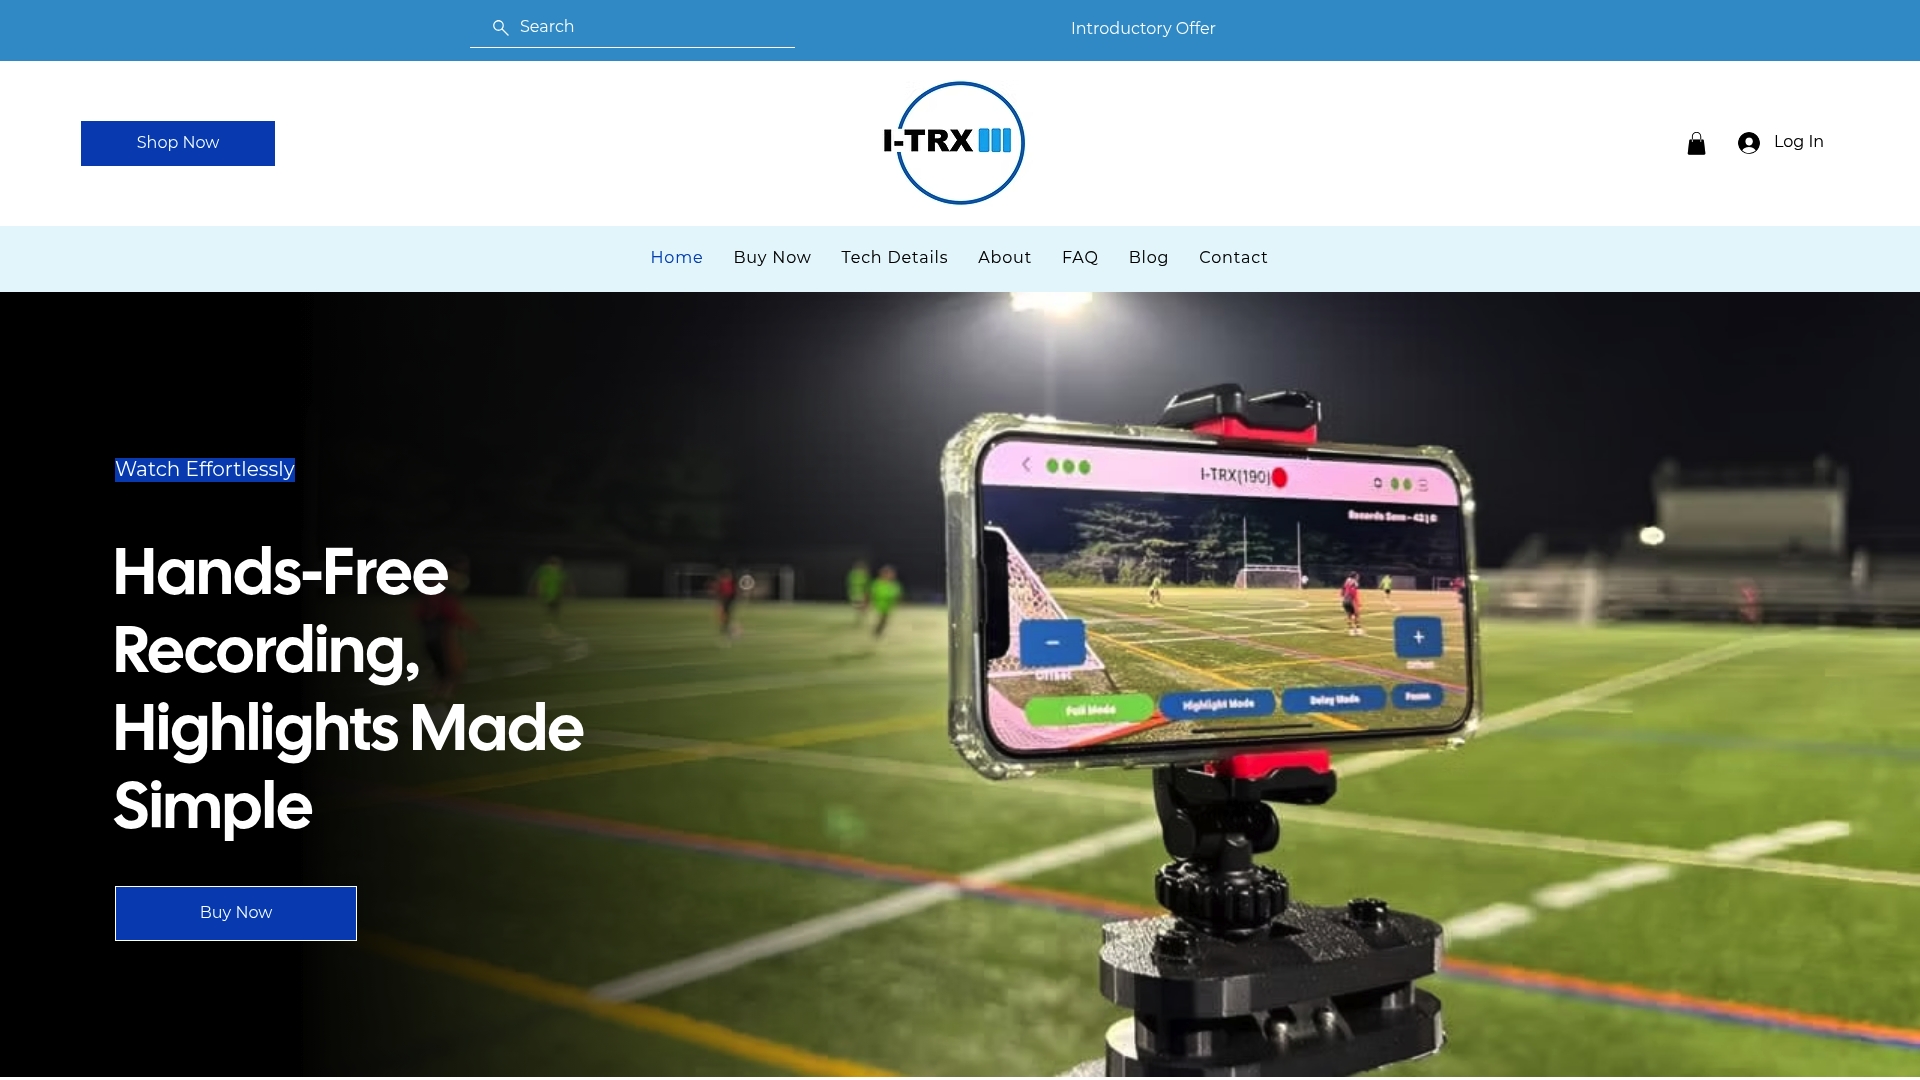
That is the problem we built I-TRX to solve. Your player wears a small sensor pack, and the camera, powered by AI, locks onto that one athlete and follows them, zooming as they move. You set it up, start it, and go back to being a parent or coach. We think of it as a personal videographer that you set once and forget.
Two features matter especially for practice:
Full session mode records the whole practice, so you can pick clips afterward.
Instant highlight saving lets the player or parent mark a good rep, and the clip goes straight to an iPhone, with no editing marathon later. Ultra Highlight Pro buffers the play just before you tap, so a good moment is not lost because you were a second late.
You can see how the pieces work on our tech details page.
What to capture in practice and what to save for games
Practice and game footage do different jobs. Mixing them well is the heart of a good player profile.
Practice footage shows:
Technique and mechanics in controlled conditions
Work ethic and coachability
Repetition: the same skill done ten times, with the best one clipped
Progress across weeks
Game footage shows:
Decision-making at speed
How the athlete performs against real opponents
Impact: goals, saves, tackles, stops, plays that change the score
The general rule is simple. Use practice clips for what you are working on and games for proof that it works. A player who spends October fixing a weak-foot shot should see that skill appear in a November game clip. Put the two side by side and the story is clear.
A simple tagging habit
Name or tag each clip right away, even with just three words: the date, the skill, the context (practice or game). A folder with sixty files called IMG_4421 is a chore. A folder with clips labeled by skill takes two minutes to build into a reel.
Turn clips into a player assessment or recruiting video
If the athlete is in high school and thinking about college, the footage has a second purpose. Recruiting guidance from NCSA, a college recruiting service, suggests that a highlight video should run about three to five minutes and lead with the best clips, because coaches may not watch past the first 20 to 30 seconds. The same page notes that the right content depends on the sport: in-game footage matters most in sports like basketball and football, while baseball and softball videos lean more on technical skills. For football specifically, NCSA suggests about 25 of the athlete’s best plays.
That gives you a practical structure:
Opening (first 30 seconds): the strongest two or three game clips.
Core (most of the video): game highlights grouped by skill or situation, clearly showing the athlete (a name, jersey number and position on screen at the start).
Skills segment (for technical sports): practice clips of the specific mechanics coaches want to evaluate, filmed from a consistent angle.
Closing: contact details and, if relevant, academic information.
The same logic works for a coach’s assessment of a younger player, only shorter. Pick three strengths and one development area, show a practice clip and a game clip for each, and add one line of context. Players learn more from watching ten well-chosen seconds than ten unfocused minutes.
For sport-specific advice, see our guide on what college coaches want in a tennis recruiting video, and our tips for filming solo soccer training.

Zoomed in or wide?
For an individual reel, tight shots that keep the athlete large in the frame are usually the better choice. When you want to show spacing or team shape, a wide shot has a place. We break down how to decide between zoom and wide in a separate guide.
Our perspective: plan once, then enjoy the game
Over and over, parents tell us the same thing: they want the video, but they do not want to spend the game behind a phone. A filming plan is only useful if it survives a busy Saturday, a cold practice and a kid who will not stand still. That is why we built I-TRX around one athlete. A wearable sensor tells the camera exactly who to follow, whether the ball is on the other side of the field or the team is bunched in a corner. The footage lands on your iPhone, ready to share with grandparents, a private coach or a recruiter. There is no editing weekend and no monthly fee. Our advice: pick one skill per practice, keep the camera setup the same each week, and let the system do the following. You get the clips, your athlete gets feedback, and you get to cheer. John
Put the plan to work with I-TRX
If you want practice and game footage without standing behind a camera, the I-TRX Automated Player Tracking Camera is built for that. It follows your athlete using a wearable sensor, records to your iPhone, and saves highlights instantly. It costs $849 one time, with no monthly fees. You can see what is included on our pricing page.
If you are still deciding whether a tracking camera fits your family, our article on why every team parent needs a youth sports camera is a good place to start, and more guides are on the I-TRX blog.
A sample four-week practice filming plan
Use this as a template and swap in your sport.
Week 1: baseline. Film two drills for your main focus skill. Mark the camera position. Save the clips in a folder named for the season.
Week 2: repeat and note. Same drill, same spot. Write down one thing the coach is emphasizing. Do not film more than ten minutes.
Week 3: add a game clip. After the weekend game, clip two moments where the skill showed up. Tag them with the date and opponent.
Week 4: review. Sit down with your athlete for ten minutes. Watch the Week 1 clip, then the Week 3 game clip. Ask the player what changed, and let them answer first. Pick the best clip for the season highlight folder.

Repeat this every month and by the end of the season you have a clear, honest record of development, plus a library to pull from when a coach asks for film.
Common mistakes to avoid
Filming everything. More footage means more sorting. Film with a purpose.
Changing angles every week. You lose the ability to compare. Mark your spot.
Skipping the coach. A quick heads-up goes a long way, and many coaches will tell you which drills are most useful to film.
Waiting to save highlights. Clip good reps the same day. Memory fades and files pile up.
Sharing widely without thinking. Other children appear in the background of many clips. Share individual clips with family and coaches, and follow league rules before posting publicly.
FAQ
How long should I film at a youth practice?
Ten to fifteen minutes of the right drill beats an hour of everything. If you film full sessions, plan to clip only the best moments. Full session recording is useful when you want to find those moments after practice rather than during it.
Can I film my child at practice without permission?
It depends on your league, school and facility. Many organizations allow personal filming of your own child but require written consent or special permission for production, distribution or sale. Ask the coach or league administrator, and read your organization’s media policy before you start.
Should I mix practice and game footage in a highlight reel?
Yes, in most cases. Lead with the strongest game clips, then add practice clips that show technique, especially in sports like baseball, softball and tennis where mechanics matter. Keep the whole video to around three to five minutes.
Do I need a tripod for practice filming?
For fixed drills, a tripod or mount gives the steadiest picture. If the athlete moves around the field, a fixed camera will lose them. A tracking camera with a wearable sensor, like I-TRX, follows one athlete on its own, so you do not have to operate it.
Sources
Comments