
3 Minute Recruiting Video Format for Coaches and Automated Tracking

A recruiting highlight video should be a few minutes long, open with a clear title card showing name, position, graduation year, and contact information, and lead with your best plays in the first 30 seconds. Export it as an MP4 and host it on a stable platform that gives coaches a simple, shareable link. Everything else in this guide builds on that foundation.
Highlight, skills, or full game: which one do you need?
Not every recruiting situation calls for the same footage. A highlight reel is a short, best-plays-first video used for initial outreach, the first thing a coach sees when deciding whether to keep watching. A skills video is more structured, showing specific technical abilities in isolation (footwork, ball-handling, serving mechanics) and works well for evaluation once a coach has already shown interest. Full-game footage gives a coach a complete picture of decision-making and consistency, but it is almost never the first thing to send.
Use a highlight reel for cold outreach and initial coach contact.
Use a skills video when a coach asks for more detail on a specific position or technique.
Use full-game footage (or links to it) only after a coach signals interest, pairing it with your short reel rather than replacing it, as explained in Pickleball Video Analysis: The AI Injury-Prevention Guide.
What college coaches actually want to see
Coaches often make a keep-watching decision within the first moments, which means your strongest, most representative clip needs to appear almost immediately, according to recruiting video guidance from NCSA. After that opening window, what holds their attention is less about flash and more about substance: decision-making under pressure, game speed relative to the competition, and whether your role on film matches the role you are being recruited to play.
Coaches also look for repeated evidence, not a single lucky play. One great catch or one highlight-reel goal tells them little. Three or four similar plays across different moments tell them you can do it consistently. Showing yourself in a range of situations (on offense, on defense, in transition) rounds out the picture and signals that you understand the whole game, not just the moments that look good in a montage.
Ideal length and smart structure (exact order and timing)
For most sports, a highlight reel works best at 2 to 4 minutes, and a skills-focused video can run slightly longer, up to about 5 minutes, since it covers more technical ground, a range supported by widely cited coach-recruiting video guidance. Goalkeepers, pitchers, and other specialized positions sometimes run a bit longer because the role requires showing more game situations, but the front-loading principle still applies.
Here is the order that tends to work across sports:
Title card (3 to 5 seconds): name, position, graduation year, contact information.
Best clips (30 to 60 seconds): your three or four strongest, most representative plays, no exceptions.
Grouped skill clips (60 to 90 seconds): organized by skill category rather than randomly sequenced.
Short raw-game examples (20 to 30 seconds): unedited sequences showing context and pace.
Closing links or card: contact info again, plus a link to full-game footage if available.
This sequence respects how coaches actually watch: fast judgment first, deeper evaluation second.
Title card and metadata: exactly what to show and how to format it
Your title card is the single most skippable, most important part of the video. Coaches need to know who they are watching and how to reach you, and they need it instantly, without pausing or guessing.
Required: full name, graduation year, primary position, club or high school, and a working email or phone number.
Optional but useful: GPA, height and weight, and relevant measurable tests like a 40-yard dash time or vertical jump.
Design it for a phone screen: large, legible text with high contrast against the background.
Leave it on screen for at least 4 to 5 seconds so a coach can screenshot it without rewinding.
Skip anything decorative. The title card’s only job is identification, not branding.
Clips to include and sport-specific guidance
Game film beats practice footage almost every time, because it shows how you perform under real pressure and against real opposition. Practice clips earn a spot only when they capture something game film cannot, a measurable vertical jump, a timed sprint, or a technical skill you rarely get to show in competition.
A useful rule of thumb: pick 3 to 5 strong examples per skill rather than piling on ten similar plays. Repetition without variety reads as padding, not proof.
Sport-specific starting points:
Basketball: defensive stance and closeouts, pick-and-roll reads, transition finishes; cut isolation highlight dunks if they are not representative of your typical role.
Soccer: first touch under pressure, defensive recovery runs, distribution under pressure; cut long clips of standing in open space.
Volleyball: serve-receive sequences, blocking footwork, transition attacks; cut celebratory reactions and dead-ball time.
Baseball: at-bats showing pitch recognition, fielding reads and footwork, throwing mechanics from multiple angles; cut warm-up swings.
Lacrosse: off-ball movement, ground-ball battles, clearing decisions under pressure; cut practice-only drill repetitions unless they show a measurable skill.
Across every sport, variety matters more than volume. A coach evaluating a recruit wants to see the player in different situations, not the same strength demonstrated five different ways.
Filming basics: angles, framing, and low-cost technical tips
Shoot in landscape, always, since a vertical video crops out exactly the field context a coach needs to evaluate positioning and spacing. Keep the camera steady, ideally on a tripod or fixed elevated position, and capture the start and finish of each play rather than cutting in mid-action.
Camera position depends on the sport: an elevated sideline angle works for soccer and lacrosse because it shows spacing and off-ball movement, a baseline or elevated corner angle works for basketball to capture both ends of the floor, and a backstop or elevated angle behind home plate works for baseball to show pitch location and swing mechanics.
For export, MP4 using H.264 compression is the safest format: it is broadly compatible across phones, laptops, and coach software, keeps file size manageable, and avoids the playback issues that older formats like AVI or MOV sometimes cause on non-Apple devices. Film in good lighting when possible, and avoid digital zoom, which degrades quality fast; physical distance and a longer lens hold up far better.
Editing best practices: identification, pacing, and what to avoid
Identify yourself before every single clip, not just once at the start. A brief freeze-frame, an arrow, or a short text label naming your position works well and takes seconds to add.
Keep the vast majority of clips at full speed. Coaches evaluate game speed, and slow motion hides it. Reserve slow-motion replays for one or two truly exceptional moments, not every clip.
Avoid heavy background music, flashy transitions, and filters. None of it helps a coach evaluate you, and all of it risks looking like a social media edit rather than a recruiting tool. Cut near-duplicate plays ruthlessly: if two clips show the same skill in a similar way, keep the stronger one.
Pro Tip: Watch your own edit with the sound off. If you can still tell what is happening and who you are within two seconds of each clip starting, your identification and pacing are working.
Hosting and sharing: platform choices, privacy settings, and sample outreach
Host your video somewhere that plays instantly on a phone with a single tap, no app download, no account creation. An unlisted YouTube link, a club or team platform, or an MP4 hosted on a school server all work well.
Set sharing permissions to unlisted or anyone with the link, never fully public or fully private.
Confirm mobile playback before sending anything, since most coaches will open your link on a phone between meetings.
Avoid large email attachments; a link is lighter and more reliable than a file transfer.
A short outreach message helps too: “Thanks for your time, Coach. My highlight reel is linked below. The first 30 seconds show my strongest recent plays at [position], and the full video runs about 3 minutes.” Telling a coach what to expect before they click increases the odds they actually press play.
Common mistakes that make coaches stop watching and how to fix them
The fastest way to lose a coach’s attention is an overlong video with no identification, shaky camera work, loud music, and the same type of play repeated five times. Each of these is fixable without reshooting everything: trim ruthlessly to 2 to 4 minutes, add simple ID overlays before each clip, re-export at standard MP4 settings if playback looks off, and only reshoot the specific sequences that are genuinely unusable rather than starting over.

Step-by-step checklist and a reusable template (build a 3-minute reel now)
Before editing, gather every usable clip, select your 8 to 12 strongest plays, draft your title card text, and confirm your contact information is current. During editing, place your best clips first, group the rest by skill, add identification overlays to every clip, and export as MP4.
A highlight reel of typical short duration remains the format most college coaches expect for first contact, based on widely cited recruiting video guidance, so a 3-minute template is a safe default:
0:00 to 0:30: Title card, then your three strongest clips back to back.
0:30 to 1:30: Grouped skill clips, organized by category, four to six total.
1:30 to 3:00: A mix of additional skill clips and one or two short raw-game sequences, closing with your contact information repeated on screen.
Follow this order and you have a complete, coach-ready reel without guesswork.
Practical example: how automated single-player tracking fits this workflow
Building the checklist above gets easier when the footage itself is already clean and focused on one player. Systems built around individual player-focused recording use a small wearable sensor to keep the camera locked on one athlete throughout a game, which means fewer wasted clips where the ball, and the camera, drift away from the player who matters for this reel.

That kind of automated player tracking also saves highlights in real time, so instead of scrubbing through a full game looking for usable plays, parents and athletes start with a shorter pool of relevant clips already organized around one player. That lines up directly with the pre-edit step of picking 8 to 12 best clips: the sorting work is mostly done before editing even begins.
Guidelines for incorporating athlete interviews or personal statements
A short interview or personal statement can add context a highlight reel cannot, but it belongs at the end, never before the game footage. Coaches are evaluating athletic ability first; a statement before any clips risks losing their attention before you have shown them anything.
Keep it brief, 20 to 30 seconds at most, and keep it specific. Instead of generic statements about work ethic or love of the game, mention your actual role on the team, a specific skill you have worked to improve, or your academic interests if they are relevant to the program. Speak directly to the camera, in good lighting, with clear audio, since poor sound quality undercuts an otherwise strong reel.
Not every sport or recruiting stage needs this element. For an initial cold outreach video, skip it and let the footage speak first; save the personal statement for a follow-up video once a coach has expressed interest, or add it as a short closing card rather than a spoken segment if you are unsure it adds value. A statement should support the footage, not replace evaluation time with explanation.
Legal and ethical considerations: permission, music, and footage rights
Before sharing any recruiting video, confirm you have the right to use the footage. Game film recorded by a school, club, or league often belongs to that organization, and sharing it externally, even for recruiting purposes, can require permission from a coach, athletic director, or league administrator. Ask early, since securing permission after a video is already built and shared is a harder conversation.
Background music introduces its own risk. Copyrighted music can trigger a takedown or a muted video on platforms like YouTube, which defeats the purpose of a recruiting reel entirely. If you want music at all, which this guide generally advises against for coach-facing cuts, use a royalty-free track from a library that explicitly allows use in shared video.
If teammates or opposing players are clearly visible and identifiable in your footage, it is worth being thoughtful about how widely you share it, particularly for footage involving minors. A reel intended for a small number of college coaches, shared through an unlisted link, carries less exposure risk than a fully public upload. When in doubt about footage rights, a quick conversation with a coach or league administrator resolves most concerns before they become a problem.
A coach-focused reel beats a cinematic one, every time
A polished, cinematic edit might earn likes on social media, but it rarely helps a coach evaluate talent, and those are two different goals that deserve two different videos. For a coach’s first look, clarity and honesty about your actual game speed matter more than music, transitions, or slow-motion drama. Save the cinematic version for fans and teammates; send coaches the plain, well-identified reel.
— John
A faster way to capture the footage this format needs
Building a coach-ready reel is a lot easier when the raw footage is already clean, focused on one player, and ready to export without hours of scrubbing through game film. That is the gap we built our system to close: a wearable sensor keeps the camera locked on one athlete for the whole game, saves highlights instantly, and sends them straight to an iPhone with no subscription fees attached.
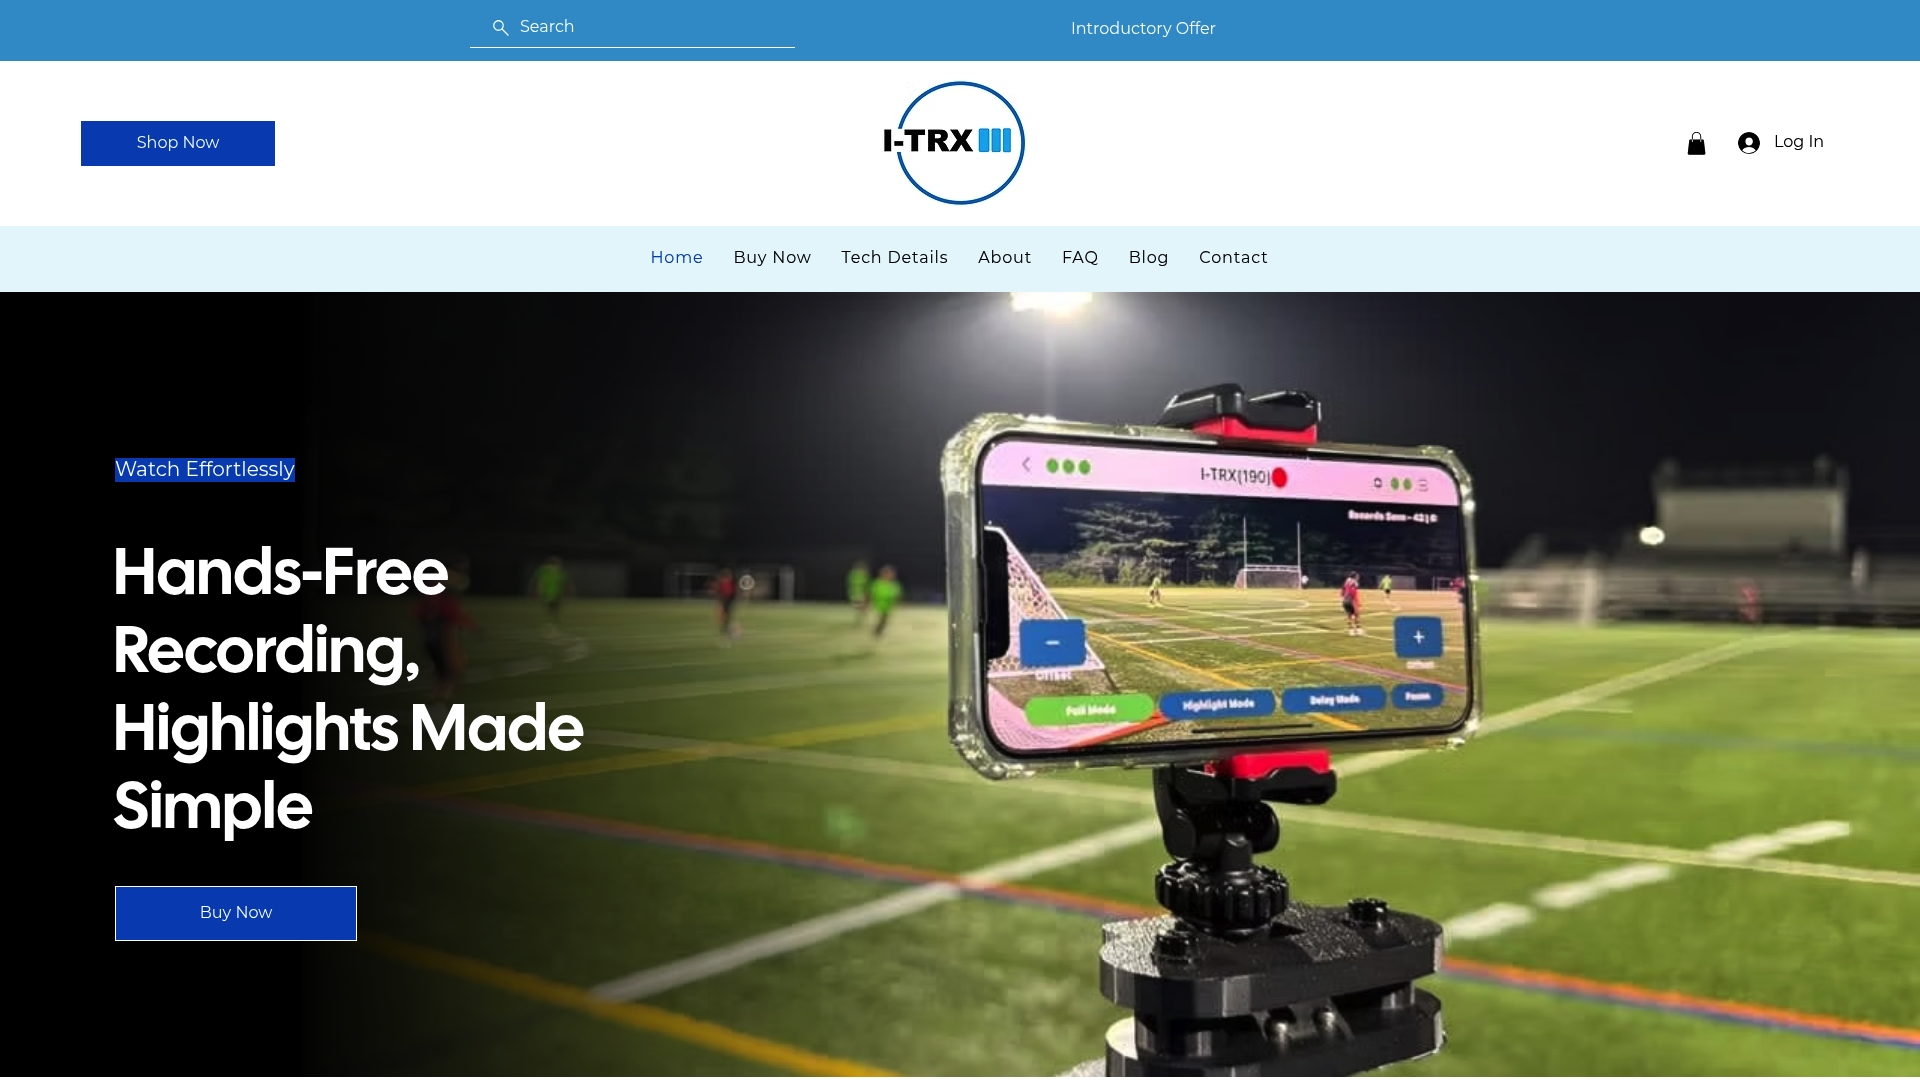
Review how automated player tracking keeps the camera on one athlete regardless of where the ball goes.
Check the tech details to see capture modes, including full-game and delayed solo recording.
Compare it to your current filming setup and see the Automated Player Tracking Camera with pricing details available on the official website.
If your weekends currently involve someone missing the big play because they were busy filming, start on our home page and see whether automated tracking fits your next season.
FAQ
How do I make a recruiting video?
Gather your best game footage, select 8 to 12 standout clips, and build a title card with your name, position, graduation year, and contact details. Arrange your strongest plays first, group the rest by skill, export as MP4, and host it on a platform that gives coaches a simple, mobile-friendly link.
What to include in a recruitment video?
Include a clear title card, your three to five strongest plays up front, clips grouped by skill showing consistent evidence of each one, and brief player identification before every clip. Full-game links can follow for coaches who want deeper review after initial interest.
How long should a recruiting video be?
A highlight reel works best at 2 to 4 minutes, with your best plays front-loaded in the first 30 seconds, based on widely cited recruiting video guidance. A skills-focused video can run slightly longer, up to about 5 minutes, since it covers more technical detail.
What is a recruiting video?
A recruiting video is footage, usually a short highlight reel, skills video, or full game, that a student-athlete sends to college coaches to demonstrate ability and fit for a program. It typically opens with identifying information and leads with the athlete’s strongest, most representative plays.
When should I send full-game footage instead of a highlight reel?
Send full-game footage only after a coach has shown initial interest in your highlight reel, not as a first point of contact. Pair it with your short reel rather than replacing it, since coaches rarely have time to watch a full game before deciding whether a recruit is worth that deeper look.
Comments