
Sideline Camera Checklist for Parents: Hardwired Failsafe & Power Plan

A reliable sideline camera setup needs a camera with clean HDMI output, a sturdy tripod, either a hardwired feed or a wireless transmitter paired with a wired failsafe, a dependable power source, and a short pregame test run. Get those five pieces right and you can cover almost any field sport without surprises. The rest of this guide walks through the equipment, placement, connectivity choices, and testing habits that keep a live stream on the air and a recording intact, plus when a traditional multi-camera rig makes less sense than an automated single-player system.
Hardware checklist and cable connections
Before anything else, confirm your camera outputs clean HDMI, meaning the feed shows only video, with no on-screen menus, battery icons, or timecodes burned in. Most mirrorless and prosumer cameras have a “clean HDMI” or “HDMI info display” toggle buried in the setup menu. Check it during your packing routine, not on the sideline.
A dependable kit for one or two cameras includes:
A camera with verified clean HDMI output and a full battery or AC adapter.
Two HDMI cables (one spare) rated for the distance between camera and switcher.
A capture device or switcher, such as an ATEM Mini Pro style unit, to combine and encode feeds.
HDMI-to-USB or HDMI-to-SDI adapters for mismatched gear.
A tripod with a fluid or ball head and a quick-release plate.
The connection flow is simple: camera HDMI out, into either a wireless transmitter or directly into the switcher, then from the switcher into your encoder or streaming laptop. Label every cable at both ends before the first game, since sideline chaos makes identical black cables indistinguishable fast.
Pro Tip: Pack a small zippered pouch with spare HDMI cables, a portable battery pack, and gaffer tape. It costs almost nothing and solves the three failures you will hit most often.
Where to mount cameras on the sideline for the best angle
Camera placement depends on the sport and the shot you need. A soccer or lacrosse field favors a position near midfield, elevated if possible, to capture both ends without constant panning. Football benefits from a higher angle at the 50-yard line to read formations, while baseball often needs a backstop-adjacent position for pitch-level detail. Our guide on recommended camera angles for youth sports breaks down framing by sport in more detail.
For tripod setup:
Extend legs to eye level or higher so spectators and sideline staff do not block the lens.
Level the head using the built-in bubble or a phone level app before locking it down.
Spread the legs wide and weight the center column with a sandbag or gear bag in windy conditions.
Route cables along the ground, taped flat, rather than left loose where cleats or feet can catch them.
Always get a nod from the field manager or athletic director before anchoring near the sideline. A small ramp over any cable crossing a walkway prevents a trip hazard and keeps officials happy. For unmanned cameras left to run wide shots, preset a framing that covers the full width of play rather than chasing the ball, since nobody will be there to reframe mid-play.
Choosing between wired and wireless transmission
Wired HDMI or Ethernet connections are the most reliable way to move video from camera to switcher, but running cable across a sideline limits mobility and creates trip hazards. Wireless transmitters free you to move the camera between halves or games, at the cost of occasional dropouts from interference or distance. The practical answer, backed by professional streaming workflows, is to use wireless for flexibility while keeping one camera hardwired as a failsafe so a dropped wireless signal never takes the whole stream down.
A stable upload speed of 10 to 15 Mbps supports consistent 1080p streaming, which is the benchmark to test for before relying on a venue’s internet or a cellular hotspot.
For connectivity and power, plan around these points:
Test venue Wi-Fi or run a cellular hotspot as backup before committing to one connection method.
Keep a second hotspot or a Starlink unit on standby for venues with weak or congested networks.
Charge all batteries the night before and bring at least one full spare per camera.
Put mobile relay devices in Airplane Mode with Wi-Fi enabled, locking them to your camera network instead of the venue’s congested guest Wi-Fi.
Pro Tip: If you are streaming from a phone or tablet, close every background app before kickoff. Idle apps are a quiet but common cause of battery drain and dropped frames.
Pregame testing timeline and troubleshooting steps
Budget about 45 to 60 minutes before kickoff for a full setup and test cycle: 15 minutes for physical assembly, 10 minutes for power and cable checks, 15 minutes for signal verification, and the remainder for a dry run.
Confirm clean HDMI output on every camera before connecting anything else.
Verify each feed appears correctly at the switcher or encoder, not just powered on.
Check audio levels independently from video, since a visual feed can look perfect while audio is silent.
Run a brief private test stream, visible only to you, to catch encoding or platform issues.
Record locally for sixty seconds as a backup check, even if your main plan is to stream live.
Common problems and quick fixes:
Wireless transmitters that will not pair: power-cycle both ends before swapping cables.
Network conflicts between devices: assign your streaming gear its own hotspot rather than sharing venue Wi-Fi.
Overheating cameras: move them to shade and swap in a cooler spare battery.
Mid-game battery swaps: always on the wired failsafe camera first, since it cannot afford to drop.
If wireless drops twice in a single test run, switch that camera to a wired connection before the game starts rather than hoping it stabilizes.
When automated single-player tracking beats a multi-camera rig
A traditional sideline rig makes sense when you need full-game, multi-angle coverage for a team or an organization. But for a parent trying to capture one athlete’s highlights, it is often more setup than the job requires.
Automated tracking systems, which use a sensor worn by the player rather than a fixed wide shot, fit best when:
You only need footage of one athlete, not the whole team or game.
Nobody is available to operate or reframe a camera during play.
You want recording that starts and stops without someone standing at a tripod.
The tradeoff is coverage: a single-player tracking system will not replace a true multi-angle broadcast production, since it is built to follow one athlete rather than switch between wide and tight shots of an entire team. What it removes is tripod leveling, manual panning, and constant reframing, replaced by sensor pairing and a phone connection. For more on how this changes the setup checklist for parents, see our piece on why team parents are turning to dedicated tracking cameras.
Getting usable audio from the sideline
Camera-mounted microphones pick up wind noise, crowd chatter, and distance-muffled coaching instructions, which is rarely what you want for a highlight reel or broadcast. A shotgun microphone mounted on the camera’s hot shoe narrows the pickup pattern toward the field and cuts down on sideline crowd noise considerably compared to a built-in mic.

For sports where sideline audio matters, such as capturing a coach’s instructions or ambient game sound, a lavalier microphone on the coach or a boundary microphone placed near the field edge gives cleaner results than anything mounted on the camera itself. Wireless lav systems add one more device to manage and one more battery to track, so treat the microphone transmitter the same way you treat a camera battery: charged, spare-equipped, and checked during your pregame run.
Wind remains the most common audio problem outdoors. A foam windscreen or a furry “dead cat” cover on any exposed microphone reduces the low rumbling noise that wind otherwise bakes into a recording. Test audio independently from video during your pregame checklist, since a feed can look flawless while the audio track is unusable, and that mistake is far easier to catch before kickoff than during a live stream.
What to know about filming rights and privacy at games
Filming at youth and amateur sports events generally falls under reasonable expectations for a public or semi-public activity, but rules vary by league, venue, and age group. Many youth sports organizations have their own policies on filming, livestreaming, or publishing footage of minors, so check with the league or venue before setting up a permanent camera position.
Some venues restrict tripods, elevated platforms, or dedicated camera positions to credentialed media or team staff, which is another reason to get sign-off from a field manager or athletic director ahead of time. If you plan to livestream or publish footage publicly, especially footage involving minors, review the league’s media policy and, where required, get consent from parents or guardians whose children appear in frame.
Posting footage to public platforms carries different considerations than recording for a private team archive. When in doubt, treat any footage involving identifiable minors with the same caution you would want applied to your own child’s image, and favor a quick conversation with event organizers over an assumption that recording is automatically allowed.

Field-tech shortcuts that save a game day
Three habits consistently save a game day. Label every cable and camera, and pack spares for the parts most likely to fail. Run the entire chain in place and start a private test recording before anyone arrives. Keep one camera hardwired and within arm’s reach the whole game, since it is the one feed that cannot go down.
— John
A simpler alternative when you only need one athlete’s highlights
If everything in this guide sounds like more gear and more babysitting than a parent wants on a Saturday morning, that is a sign a traditional sideline rig may not be the right tool for the job. I-TRX takes a different approach: a small sensor worn by the player lets the camera track and record that one athlete automatically, so there is no tripod to level, no switcher to manage, and no missed play because someone was busy swapping a battery.
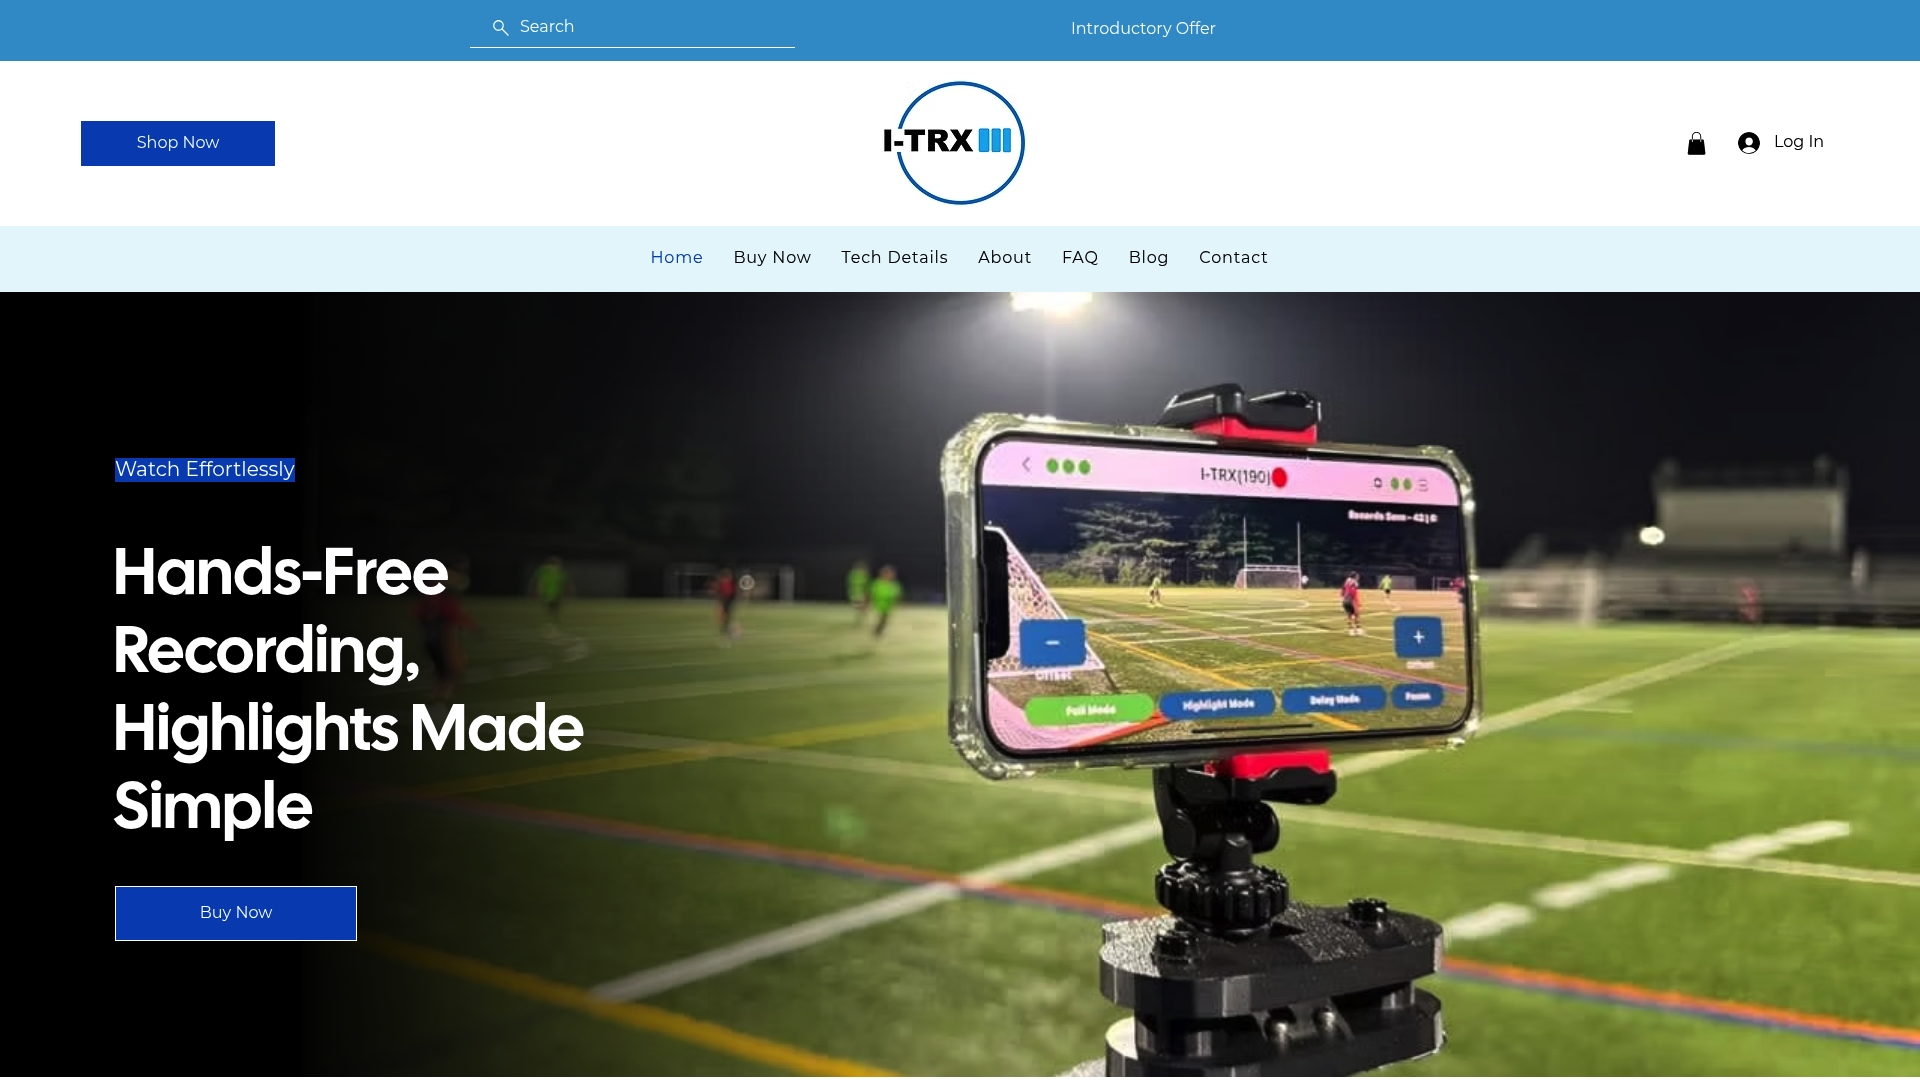
Highlights save instantly to an iPhone, with no monthly subscription fees and no manual editing required before you can share a clip with grandparents or a recruiting coach.
Check current pricing on the I-TRX pricing page.
Review sensor and camera specifications on the product page.
See operating modes, including full-game and delayed solo recording, on the tech details page.
For a parent who just wants their kid’s moments captured without running a mini broadcast, that trade is worth exploring. Visit I-trx to see if it fits your family’s setup.
FAQ
How do I set up a Hudl Sideline camera system?
A Hudl Sideline setup typically involves mounting the camera on a tripod at an elevated sideline position, connecting it to a tablet or mobile device for control, and confirming a stable network connection before recording. Always run a short test recording before the game starts to confirm the angle and connection are working.
How do I connect a sideline camera to a Hudl Focus unit?
Connection generally requires pairing the camera to the Hudl Focus device over the app and confirming the unit has a clear, unobstructed view of the field. Check the manufacturer’s current setup documentation for exact pairing steps, since app-based pairing processes can change between software updates.
How much do automated sideline cameras cost?
Pricing varies widely by brand, features, and whether the system is a one-time purchase or a subscription. I-TRX’s Automated Player Tracking Camera is a one-off purchase of $849 with no monthly fees.
How do I set up my camera for live streaming a game?
Connect your camera’s clean HDMI output to a capture device or switcher, confirm a stable internet upload of 10 to 15 Mbps for 1080p, and run a private test stream before going live. Keep one camera hardwired as a failsafe in case a wireless connection drops during the game.
Comments