
10–16 ft Soccer Camera Height for Parents: Single Player Tracking

Mount your automated tracking camera between 10 and 16 feet high for the best balance of player visibility and image detail. This range keeps a wearable sensor system like I-TRX locked onto your athlete without the footage turning into a distant, pixelated blur. Go too high and you lose the crisp detail that makes a highlight reel worth sharing. Too low, and the camera loses your player behind teammates or defenders.
Choosing the Right Height Band for Your Setup
The right height depends on your field size, the camera’s zoom range, and how much of the action you need in frame. Three bands cover most youth and amateur setups.
Low band, about 6 to 10 feet: works well for small-sided games or tight sidelines where you’re close to the action, but players can get blocked from view more easily.
Medium band, about 10 to 16 feet: the sweet spot for most single-player tracking setups, since it clears most sightline obstructions while keeping your athlete large enough in frame for sharp highlights.
High band, about 16 to 30 feet: reduces the chance of one player blocking the camera’s view of another, which matters on full-size fields, but pushes your athlete further from the lens and softens fine detail.
Pair whichever height you choose with a tilt of 10 to 20 degrees from the pitch plane. This angle range is what tracking research points to for balancing a wide enough field of view with resolution the AI model can actually work with. Tilt too flat and you capture more sky than field. Tilt too steep and the camera loses track of players near the far touchline.
Why Height Changes What the Camera Can Actually See
Height is not just about a wider view. It directly affects how often the tracking software can confirm your player is actually visible on screen, frame by frame.

A comparative study on tracking software found tactical, elevated wide-angle feeds hit an 89 to 96% player detection rate, compared to just 36 to 64% for tighter, lower-angle feeds. That gap comes from fewer obstructed sightlines at greater elevation, and it matters because every frame where the software loses your athlete is a frame where the system has to guess position instead of record it.
There’s a trade-off, though. The farther the camera sits from the field, the fewer pixels land on any single player, which thins out the fine detail in close-up highlight shots. Mounting height and zoom need to move together, not independently.
Elevated, wide feeds cut occlusion and raise detection frames.
Moving further back without adjusting zoom shrinks your athlete’s pixel footprint and softens highlight quality.
Both 720p and 1080p resolutions are generally adequate for tracking, as long as the AI model behind the camera system is suited to the feed it receives.
Setting Up Your Camera the Day of the Game
Getting the mount right takes ten minutes if you follow a routine instead of eyeballing it.
Pick your mount type. A heavy tripod works for most sideline setups, a telescoping pole helps on fields with obstructed sightlines, and a venue overhead mount, where available, gives the steadiest elevated view.
Set the base and tilt. Extend the tripod or pole to your target height in the 10 to 16 foot range, angle the camera 10 to 20 degrees toward the pitch, and check that the base is level and weighted against wind.
Position laterally. Center the camera on the midline of the field or on the side your player spends the most time, keeping sight lines clear of team benches and other parents.
Check power and cable routing. Confirm battery or power supply is secure, and route any cables away from foot traffic.
Match your camera settings to the height. Use a focal length that keeps your athlete clearly framed rather than a tiny speck, keep resolution at 1080p when the system supports it, and use a frame rate suited for fast lateral movement.
Pro Tip: Run a 60 to 120 second test clip before kickoff. Watch for consistent detection of your player and adjust the mount in small 5 to 10 foot height or 5 to 10 degree tilt increments until the framing looks right.
Fixing the Setup Mistakes That Cost You Footage
Most missed highlights trace back to a handful of avoidable errors rather than anything wrong with the camera itself.
Mounted too low: the camera loses your player behind others on the field, cutting detection frames.
Mounted too high without adjusting zoom: footage looks distant and detail drops, even though tracking may still work.
Wrong tilt angle: too flat wastes the frame on sky, too steep clips players near the far side of the field.
Loose or unstable mount: wind or bumps shift the angle mid-match, and you won’t notice until you review the footage.
Poor lighting: low light at dusk games or heavy shadow on one half of the field can hurt detection regardless of height.
If a venue simply doesn’t allow the ideal height, a slightly compressed mid-band setup with a bit more zoom usually outperforms forcing a full high-band elevation off an unstable surface.
Pro Tip: When in doubt, retest with a short clip after every adjustment instead of guessing. Thirty seconds of footage tells you more than eyeballing the angle ever will.
What Years of Sideline Setups Have Taught Parents
Camera height decisions look simple until you’re standing on a sideline with a squirming tripod and a kickoff whistle about to blow. Parents who’ve set up automated tracking systems season after season tend to converge on the same medium-height, moderate-tilt approach described above, adjusting only for field size and lighting.
I-TRX users have reported that a properly mounted system reliably captures highlights and saves clips straight to an iPhone without needing to babysit the camera through the match. That kind of hands-off reliability depends almost entirely on getting the height and angle right before kickoff, not on fiddling with settings mid-game.
The simplest test of a good setup remains the rehearsal clip: watch a minute of footage, count how consistently your player stays in frame, and adjust from there.
What the Data Actually Tells You to Prioritize
Most advice on filming youth soccer focuses on gear specs: better lenses, higher resolution, sturdier tripods. That misses the bigger lever. Height and tilt, chosen correctly, do more for detection reliability than almost any equipment upgrade you could make.

The conventional wisdom to “get as high as possible for a wide view” only holds for full-field broadcast coverage, not for single-player tracking. For a wearable sensor system following one athlete, going too high trades away the pixel detail that makes a highlight clip watchable. The medium band, paired with a modest 10 to 20 degree tilt, consistently outperforms extreme elevation for this specific job.
If you take one thing from this guide, let it be the test clip habit. A thirty second rehearsal before every game catches more problems than any spec sheet ever will, and it costs you nothing but a few minutes before kickoff.
— John
Get Reliable Highlights Without Managing a Camera Rig
Getting the height and angle right solves half the problem. The other half is having a system built specifically to track one player instead of the whole field. I-TRX uses a small wearable sensor to follow your athlete automatically, so once your camera is mounted in that 10 to 16 foot range at the right tilt, the system handles the rest.
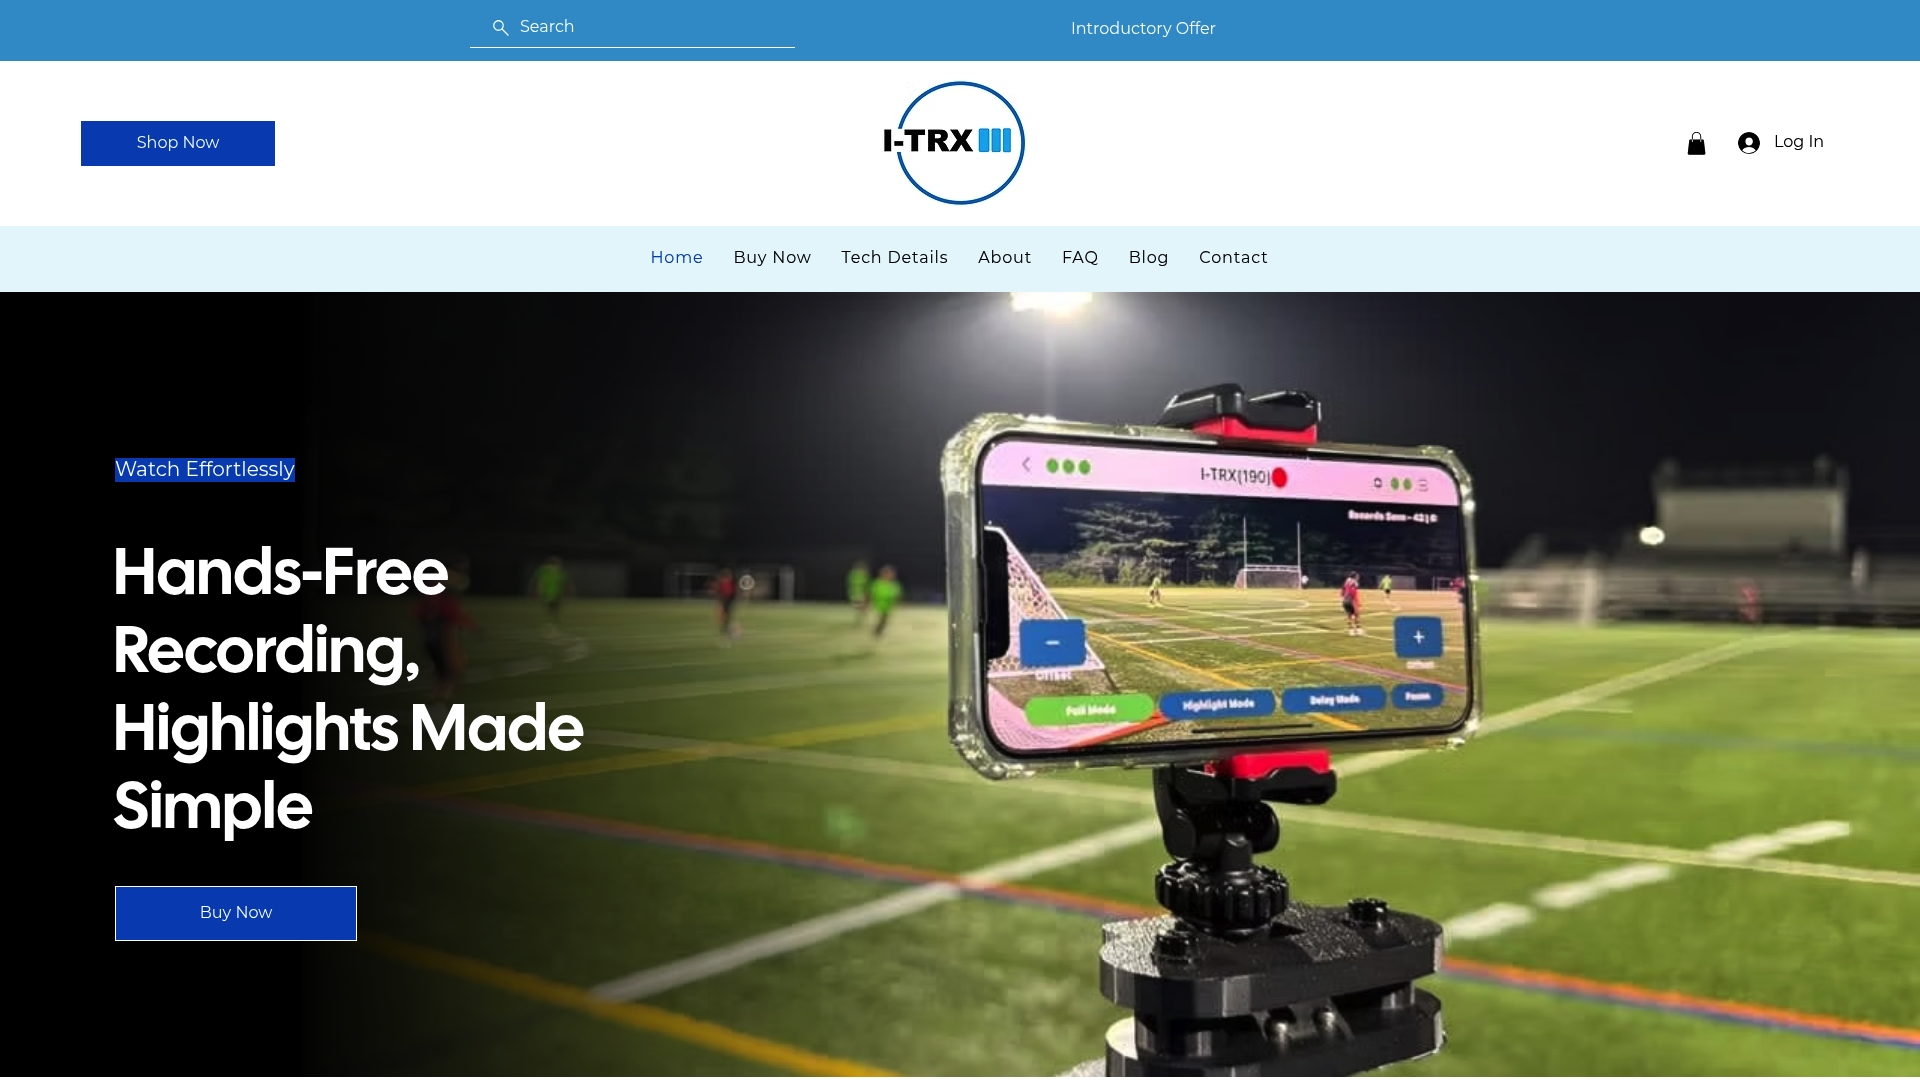
Highlights save instantly to an iPhone with no manual editing required.
The system requires only a one-time purchase of the camera and sensor system, with no ongoing subscription fees.
Ultra Highlight Pro buffers recent play so a slow start to a big moment doesn’t get missed.
If you’re ready to stop juggling a tripod and a scoreboard at the same time, check out the Automated Player Tracking Camera, with pricing details available on the I-TRX pricing page.
Sources
The height and angle recommendations in this guide draw on tracking research rather than guesswork. The Frontiers review on performance tracking system quality covers installation angle and occlusion trade-offs in detail. The arXiv study on computer-vision tracking validity breaks down how detection frame rates change with camera elevation and feed type.
For product-specific setup guidance, the I-TRX tech details page and top tracking camera comparison go deeper into hardware settings. For general framing tips, this equipment review covers reducing occlusion during recording.
FAQ
What is the best height to mount a soccer tracking camera?
Most single-player tracking setups work best between 10 and 16 feet, which clears common sightline obstructions while keeping your athlete large enough in frame for sharp highlights. Going higher can help on larger fields with more players in the way, but it softens image detail.
What camera angle should I use for soccer filming?
A tilt of about 10 to 20 degrees from the pitch plane is the range tracking research points to for balancing field of view with usable resolution. Too flat wastes the frame on sky, and too steep cuts off action near the far touchline.
Does camera height affect how well tracking software detects a player?
Yes. Elevated, wide-angle feeds showed player detection rates of 89 to 96% in a comparative study, compared to 36 to 64% for tighter, lower-angle feeds, since fewer obstructions block the camera’s view.
Is 1080p necessary or does 720p work for tracking?
Both resolutions are generally adequate for computer-vision tracking as long as the system’s AI model is suited to the feed. Height and angle matter more for reliable detection than the jump from 720p to 1080p.
How do I know if my camera setup is working before the game starts?
Record a short test clip, roughly 60 to 120 seconds, and check whether your player stays consistently in frame throughout. If detection looks inconsistent, adjust the mount in small 5 to 10 foot height or 5 to 10 degree tilt increments and retest.
Comments